
Team Fortress 2 In-depth Tips
You know the basics of Team Fortress 2, like what every class can do and what they can't do, but haven't yet grasped how to use them in all the different situations? You might be a decent player individually, but still the opposing team manages to grab the victory time after another? You've come to the right place. This page doesn't try to teach everything there is to know about Team Fortress 2, but it'll at least sum up the most useful and creative tricks and strategies I've come across after first starting to play during the beta. If you aren't yet familiar with even the basic strategies involved in Team Fortress 2, I suggest reading the guide at GameAlmighty.com. Penny Arcade also has a very useful tip for you. The guide is sometimes being updated with more tips and imagery, so keep an eye out for new content.
Pair configurations
Coordinating the team as a whole is perhaps the most important aspect of winning the game, but even two people can be a pretty effective team in most situations. Plus two people is easier to coordinate than three or twelve, so I'll start from here.
Killing machine: Medic+Pyro
- Tactic:
- My favorite of them all, and an invaluable combination for especially the defending team. Use the 'long routes' found on most of the maps, like the canyon in Dustbowl, the tunnel in 2fort or the long duct in Granary, and sneak behind the other team's lines to hit their weak point and cause massive damage. The medic will keep the pyro alive while the pyro confuses the surprised enemies enough to make them unable to attack the medic effectively. Use this deadly combination with an �bercharge, and it's possible to kill every single person in the opposing team. I've seen it done, and will definitely try to do it again.
- Variations:
- Medic+Heavy or Medic+Soldier works too, but Medic+Pyro is usually recommendable because of the pyro's higher speed and greater confusion factor.
- Counter-tactic:
- Watch your back, and keep the balance between attacking via different routes. It's better to be safe than sorry.
Easy captures: Spy+Scout
- Tactic:
- When there's a possibility of an easy capture, go for it. If the enemy's final capture point isn't guarded by anything more than unguarded sentries or an unsuspecting heavy weapons guy, this one's a breeze. When the teams are still battling over the previous point, the spy can use cloak and sneak past the lines to go hanging out near the final capture point. Make sure not to be discovered yet - don't even sap unguarded structures. When your team captures the previous point, immediately sap any sentry or backstab any enemy fighter guarding the final point and shoot in the air to get rid of the disguise. When you have more than one spy on the point, the enemy has very little time left to react. Different variations of this tactic work especially well in Well and Granary.
- Variations:
- Oh right, the scout part. Combine the spies with scouts for a more balanced capturing approach. When the previous point is captured, the spy takes care of the final defenses and makes way for the scouts, who quickly run to the point to make the capture. Scouts have double capture speed, so the enemy has even less time to react. Or if the enemy is really easy to sneak by, forget the spies and use only scouts.
- Counter-tactic:
- Remember to guard points behind the front line too. Don't focus all your attention there, but if you're a Demoman or an Engineer, assess the situation carefully. A sentry or a few stickies might be worth the trouble.
Sentry destroyer: Spy+Demoman
- Tactic:
- A perfect combination for destroying well-guarded sentries in tricky places. The spy saps the sentry to disable it for a while, and the demoman comes out, shoots four stickies on the sentry and detonates them. Four stickies should be enough to kill the sentry instantly, so the engineer will have no chance to repair it. The spy might die by the engineer's wrench in the process, but achieving victory always requires some sacrifices.
- Variations:
- None that are equally useful. Spy+Soldier is ok, if they coordinate their efforts to make the engineer unable to repair the sentry on time, but Demoman is usually the way to go. Pyro also become a viable alternative after the pyro update. Add a medic in the mix for a higher success rate.
- Counter-tactic:
- Kill those spies. Really kill them so that they die. Be paranoid. Shoot all your teammates, even those who don't act suspiciously. Get backup that can disturb the demoman so he can't do his part of the job.
Shoot yourself: Medic+Soldier
- Tactic:
- If you're a soldier with a medic buddy, and your team can't break through the enemy lines without an �bercharge, you can speed up the charging process by standing next to a wall and continuously shooting yourself. Healing a damaged teammate increases the charging speed, so this seemingly idiotic strategy can sometimes come in handy. It only takes about 30 seconds to get an �bercharge ready this way, but keep an eye out for enemy spies that might come to disturb you. Earlier on this was a smart move during the setup phase too, but Valve increased the charging speed during the setup with an update so this would no longer be necessary.
- Variations:
- Demomen can shoot themselves too.
- Counter-tactic:
- Spies should hunt medics down before they are ready to launch their deadly assault. When push comes to shove, an �bercharge of your own can also save the situation.
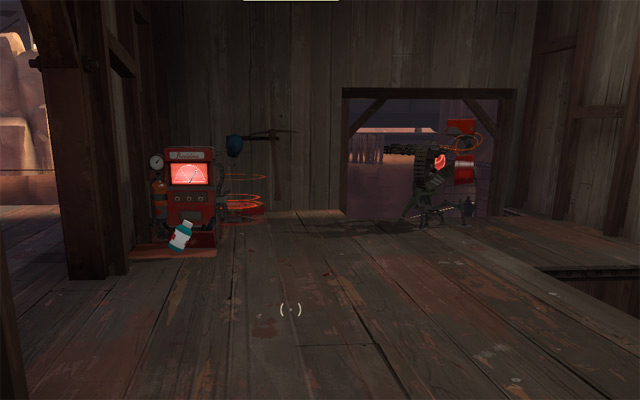
Infinite ammo: Engineer+Pyro
- Tactic:
- Dispensers are a valuable source of metal for engineers, but placing them near cramped choke points can also give the defending team an extra advantage. A pyro or a heavy standing next to a dispenser can fire continuously until killed. Build a sentry to shoot off targets that are out of range of the flamethrower, and you have a perfect combo for effective defense. Ordinary enemies will fall before even getting close, and the pyro's flamethrower will take care of any spies trying to sneak to the sentry and sap it.
- Variations:
- Heavy can be better than pyro for slightly larger areas, though he lacks the spy detection ability of the pyro's flames (set them on fire, and they're easy to see). All other classes have to reload once in a while, which makes them slightly less effective in the situation.
- Counter-tactic:
- You practically need an �bercharge to get past this one, so first just try to use a different route. A skilled demoman can also try to shoot his stickies near the defenses while staying behind cover, but this might be extra hard if the pyro decides to launch a counter-offense against you.
That's basically most of the more interesting combinations - there are some more obvious ones too, like Medic+Heavy, but strategies for this type of combinations are pretty straightforward and don't really need an explanation. Continue reading for some more specific instructions on how to win the game.
Medic/�bercharge tactics
There are a few key points in any game when using the �bercharge is especially useful, and recognizing those situations is a very useful skill for any TF2 player, whether playing medic or just being healed. Number one is start of the game after the setup phase - the first battle is usually the most intensive one, and the end result matters a lot. So make sure you have the charge ready when the battle starts and also time it correctly. If you manage to begin your �bercharge a few seconds after an enemy medic starts his, it's usually your advantage - after all, when his charge ends, yours will still be in full swing and it's possible to take out the enemy medic. But don't save it for too long, or you risk dying. Also be very wary of snipers - they might have their sights on your head before you know it.
Other important use for �bercharge is breaking through key defenses - sometimes cooperation of spies and demomen can bring down even a well-guarded sentry, but sometimes the enemy just won't budge without an �bercharge. The charge is best used on a demoman in this case too, since his spikebombs are unmatched in their ability to bring down buildings under repair. When you're a medic in this situation, remember to try to draw the sentries' fire on yourself, so the person you're healing can move more freely and destroy the sentries on time.
Engineer tactics: Teleports first
As an engineer, prioritize building teleports for your team, specially if you are on the offending team. They're not as important in Well, Granary or Badlands where the spawn areas change according to the points captured, but in every other map, teleports are a very valuable asset. Build the entry point right after you leave the base for the first time, then go back to resupply quickly before taking on any other activities.
Class balance
Your team needs a medic. Really. Preferably two or three in normal 10 on 10 games. That's the most important guideline in class balance inside a team and also the most frequently broken one. Medics are the glue that keeps attacks and defenses together, and a key ingredient in special, game-deciding maneuvers. Engineers are also vital. The offending team needs two on some point of the game to make teleporting readily available for the rest of the team. The defending team should also have at least two so they can guard each other's backs and sometimes repair each other's buildings if the other one gets killed. After you have your healers and builders, a somewhat even distribution of other classes is usually a good idea. After all, every single one has its own special place in the TF2 ecosystem. If you're on the offending team, make sure you have at least one of each offensive class, and if you're on the defending team, make sure you have at least one of each defensive class. The rest is not that important - remember to have fun and play with the class you're good with.
Forget class balance: Scout rush!

Special solutions for special situations. This strategy is especially useful in Hydro and Badlands, but if it fails, expect the enemy team to quickly gain the upper hand. Basically, use double or triple the scouts you usually need - half of the team, for example. Then, at the beginning of the game, rush the control points as quickly as possible. In Hydro, the capturing speed is set especially high, so a skilled team of scouts can take over the whole map in no time. In Granary and Well, the game usually starts off with a larger battle near the central point, and the maps have a setup phase to make the rush less effective, but if you are able to win that first battle and use that as a leverage for rushing further, the victory might be quick and decisive.
The tactic can also be used with less risk in Dustbowl or Gravel Pit, but it's not nearly as effective in those maps either. Usually enemy sentries have to be destroyed before you can even think of capturing the first point. For capturing the final point, however, switching to scout and trying the quick & dirty approach should always be considered.
Spy tactics
Carson: Jesus tittyfucking Christ dude, i could have sworn she was telling the truth!
Gary Johnston: That's why they call it acting.
- Team America: World Police
There are a few key things to keep in mind when playing as a spy. First of all, be patient: wait for the right moment, and don't give yourself away for just some easy points. Second: don't try to force your way to the enemy base. If you notice somebody noticing you, fall back, change your disguise and try again later. Act like you were a member of the opposing team. Little details matter a lot: if you're running backwards instead of forwards and have instructed your teammates to make it look like they were attacking you, you're usually much more convincing. Remember to use the cloak effectively to get behind enemy lines, and decloak in a safe spot away from the eyes of the enemy. When you do get behind the enemy lines, remember to prioritize your targets. Sentries are naturally a number one priority, though teleports and medics aren't that far behind in the killing queue either. When trying to sap buildings guarded by an engineer, you basically have two options - constantly spam the sappers on the buildings, so that the engineer won't have time to attack you, or kill the engineer instantly after sapping the building. The second option is usually riskier, but sometimes the outcome might be worth it. A spy can become a very valuable asset for the team when played correctly.
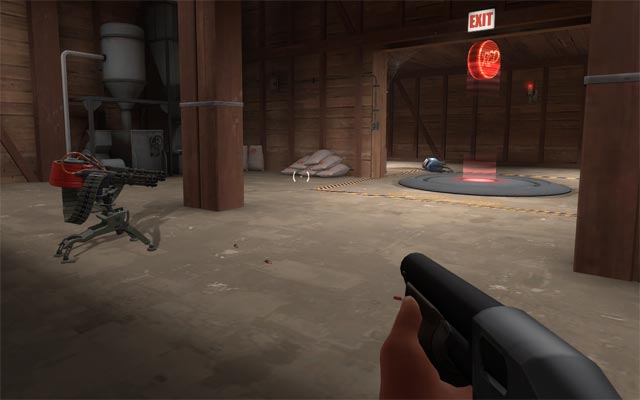
Sentry placement
Good or bad sentry placement can easily lead to either victory or defeat. The sentries should always be in a position where they protect a key area and can't possibly be attacked from afar, though there are some minor exceptions. The best way to learn placing sentries is by doing, but there are also some favorite locations that any TF2 player should be aware of. Not only will this help deploying the sentries, but avoiding and destroying them as well.
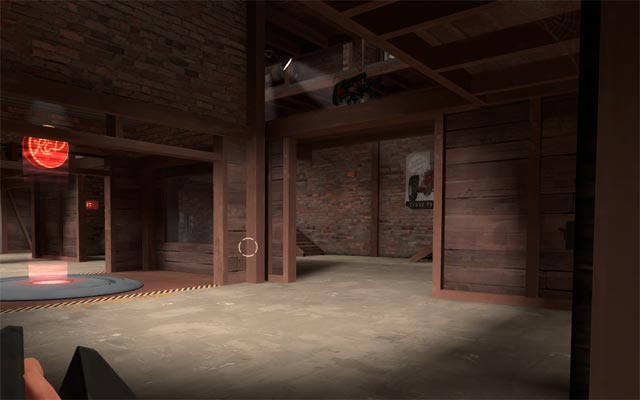
2fort
A sentry positioned here will make the enemy's most important attack routes completely inaccessible. If this room is kept secure, the only way the enemy team can get to the flag room is by rocket jumping or double jumping up the battlements or the hole in the ceiling near the entrance.
Badlands
The middle point is where most of Badland's fighting takes place, and the window in the building next to the capture point is a well-protected place for a sentry. If your team is past the center point and on the offensive, consider placing the sentry at the balcony next to the window, on the opposing team's side of the train track.
Dustbowl
A good location for guarding the first point. Hard to hit at least without an �bercharge, and protects the first point from a frontal assault very effectively. A spy will have a hard time getting to the sentry too.
The most traditional place for sentries in the whole map is probably in this corner. The sentries aren't too badly exposed to spies or direct fire, but a skilled demoman might take them out.
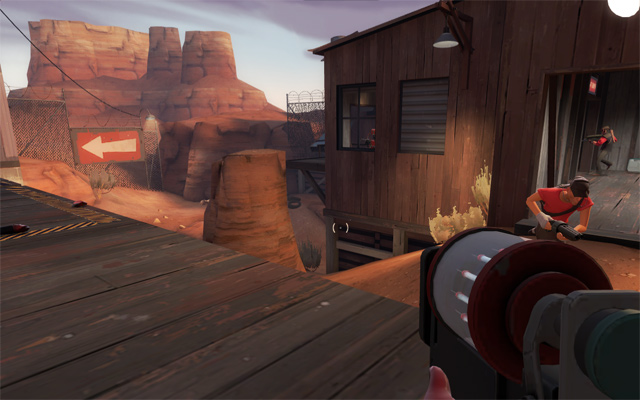
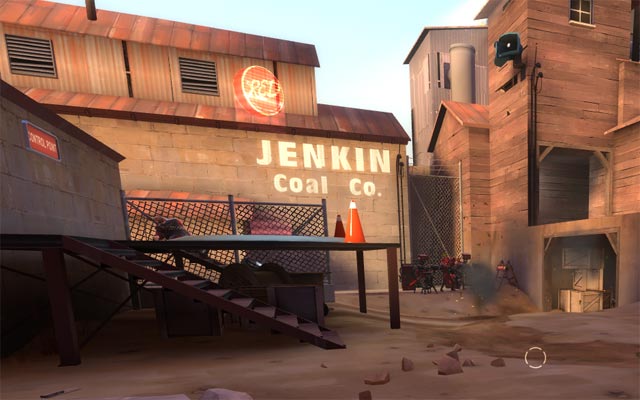
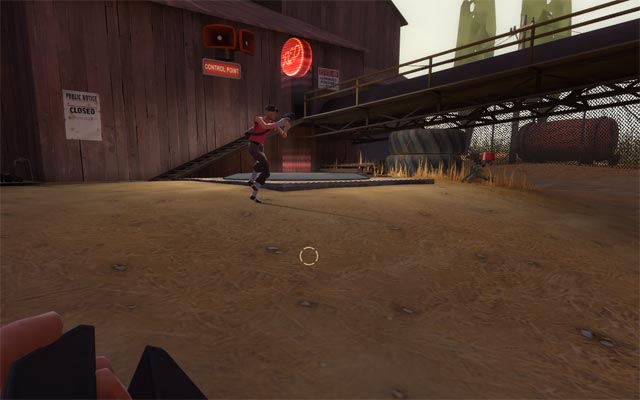
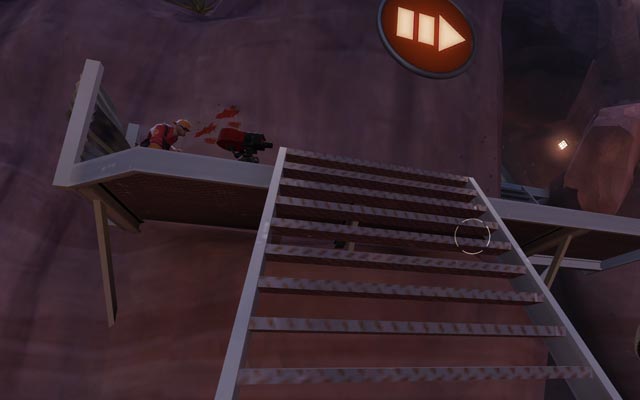
Goldrush
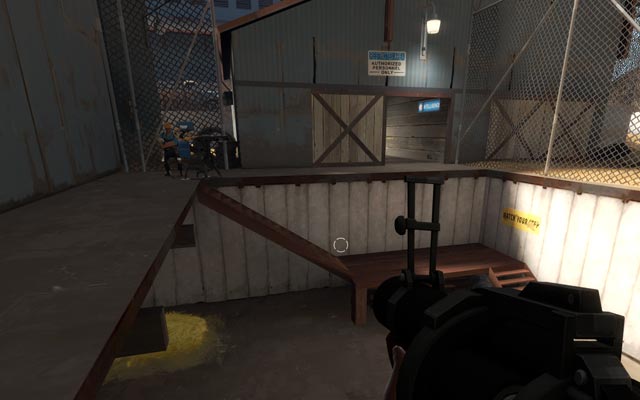
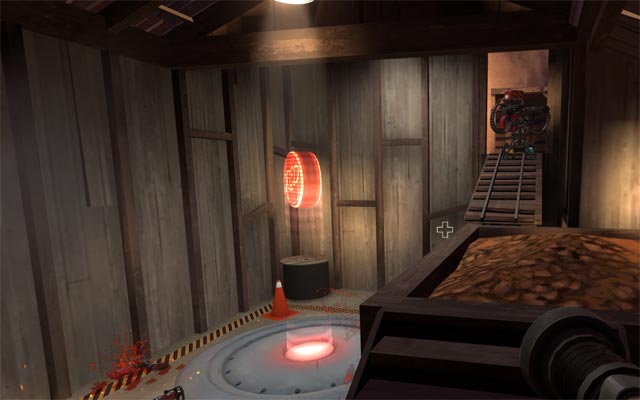
To guard the very first point effectively, it's useful to have a few sentries inside the house, just a few meters off the point. A demoman shouldn't have too much trouble taking them out - but he has to get close first, and the fighting here is usually hectic enough to make that pretty damn hard. Placing sentries any nearer the enemy gates is usually not worth the trouble, since they're most probably going to be overrun by the first wave of �bercharges.
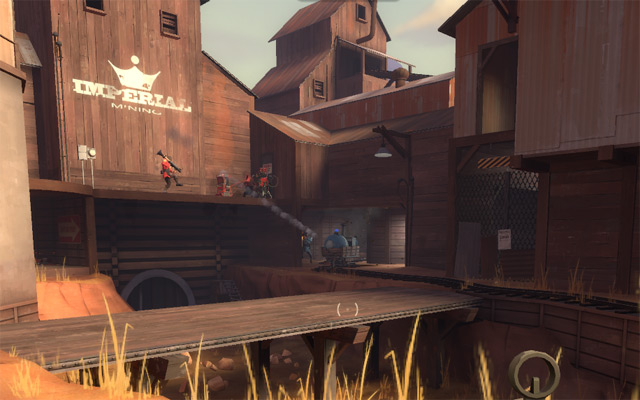
It's possible to build a sentry up here too, where the enemy least expects it. In the beginning of the game, there's no way to get up by simply just walking, but first build a dispenser under the elevated opening, and jumping up from there shouldn't be too much trouble. After this route opens up for the enemy, it's also useful to know that scouts can double-jump there too.
Granary
The second control point is usually the place for the fiercest defensive battles in Granary. Most usually sentries are just placed on the floor on either side of the control point - the enemy still has to get close to kill them, which should buy your team some extra time. The most common exception is placing the sentries on the second floor, overseeing the control point. This has proved quite effective too, though a skilled demoman might be able to destroy it by shooting stickies from the second floor hallway. Either way, it's very important to keep an eye on the sentries on this point - they will be under constant attack.
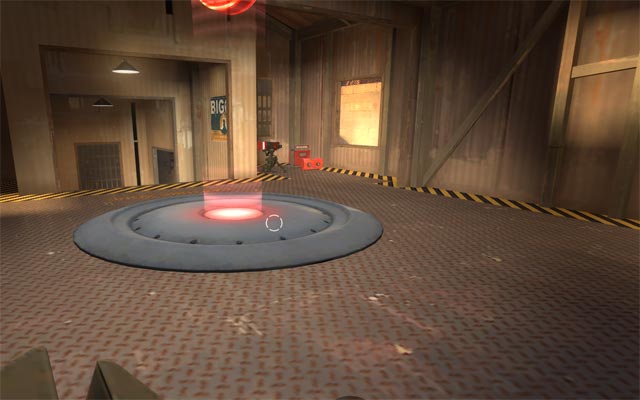
If the game has progressed to the point where there's only one control point remaining, the attacking team has practically already won. Of course that shouldn't stop the defending team from trying. If they are unable to push back, there's still the possibility of a stalemate and sudden death. A sentry placed directly next to the control point under the ramp is usually a pretty good choice, as it prevents any captures by scouts just trying their luck. Of course it's also ridiculously easy to shoot down from afar, so the engineer should be prepared for some frantic action.
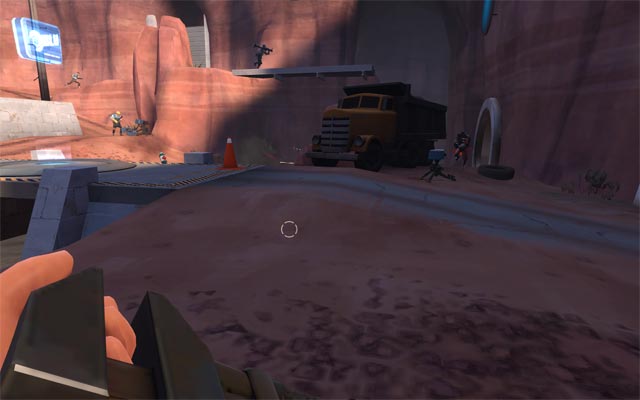
Gravel Pit
This corner of control point B is definitely a favorite as far as sentry locations go. It's nearly impossible to hit from afar, and protects the area effectively. This particular corner is even slightly better than the one on the left, since the window near it is usually better protected from demomen and soldiers than the one on the left.
Hydro
This attack route quickly becomes a stairway to hell for the offending team. The sentry can't easily be shot down from afar, and directly protects the capture point in addition to the stairway. Perhaps the single most important sentry location in the whole map.
Another favorite location on Hydro, a different level configuration. The sentry guards the capture point effectively and is in a pretty safe spot thanks to the truck.
Well
Placing a few sentries up on the second level makes capturing the second control point really difficult. It's not easy for spies to sneak up there either, as the long route up gives a lot of opportunities for spotting and killing them.
Text copyright Olli Etuaho. All images are cropped screenshots from Team Fortress 2, copyright Valve, used here for illustration under fair use.
If you have any suggestions, questions or comments, just send mail to admin at hectigo dot net.